
This month’s “Don’t F*#! It Up Thursdays!” features a childhood favorite. Or at least a teenage favorite. I often forget how long ago my childhood actually was 😀
How Dare You!
As previously mentioned, I’m a “Disney Adult” (see more here)! And no, I am still not apologizing for it. Disneyland has a candy shop on Main Street, called Candy Palace. For years, they have made various treats in the theme park, including Caramel Apples, Toffee Squares, Pecan Nuttles (similar to pecan turtles), and many others. My favorite was the Fudge Mallow Squares.
In recent years, Disney has slowly stopped making many of these candies and focused on only a few options that are made in the parks. Unfortunately, my Fudge Mallows got the ax. It has been several years since they have had them. So, I challenged myself to recreate them!
Time For Ooey Gooey Marshmallow
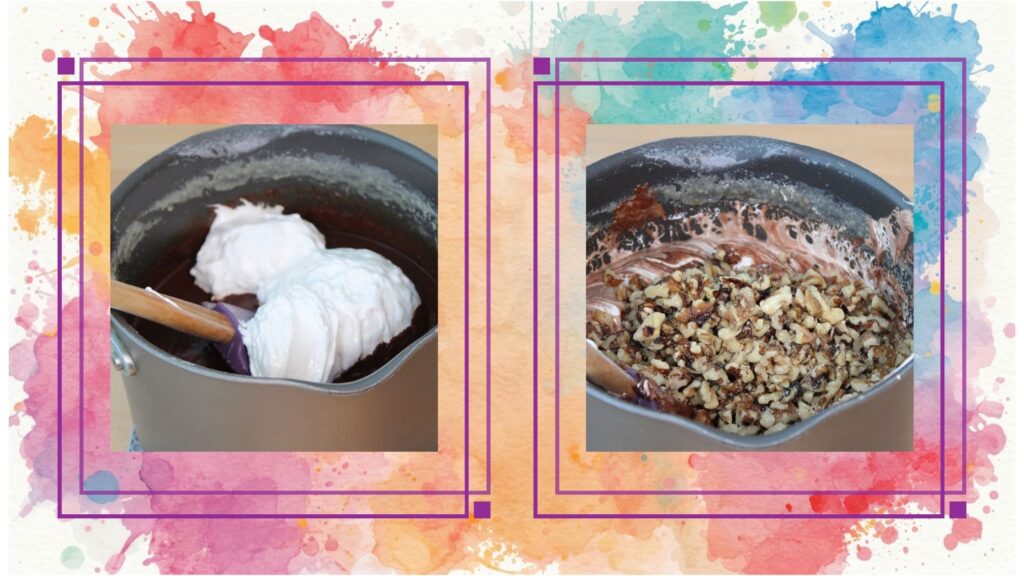
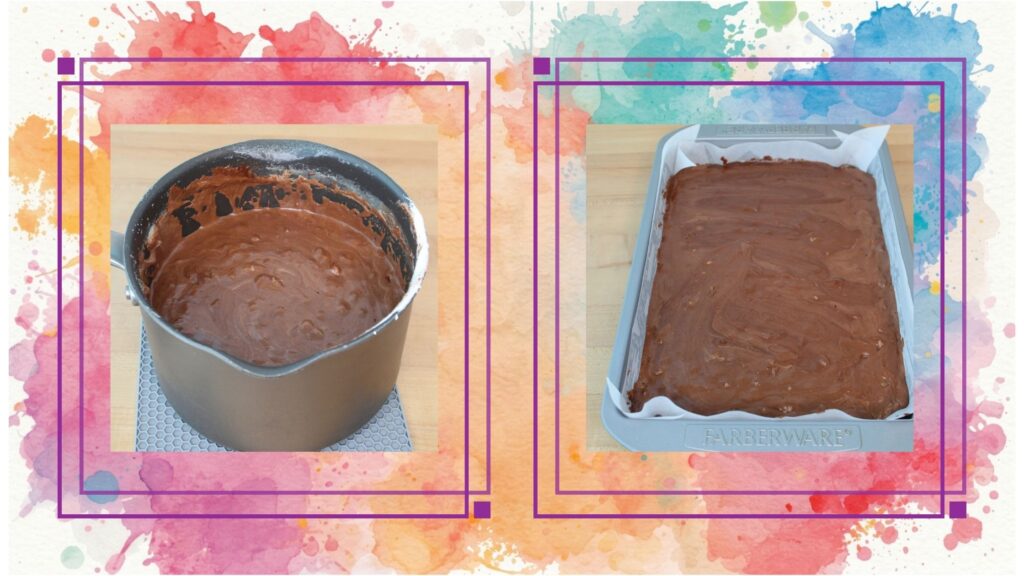
Fudge Mallows are much like they sound. A layer of fudge with walnuts, a layer of marshmallow, all enrobed in chocolate. Sounds delicious, right!!! If you are not a nut person, or are allergic, my apologies that you cannot enjoy these treats. And yes, they are sweet, but it is a treat after all.
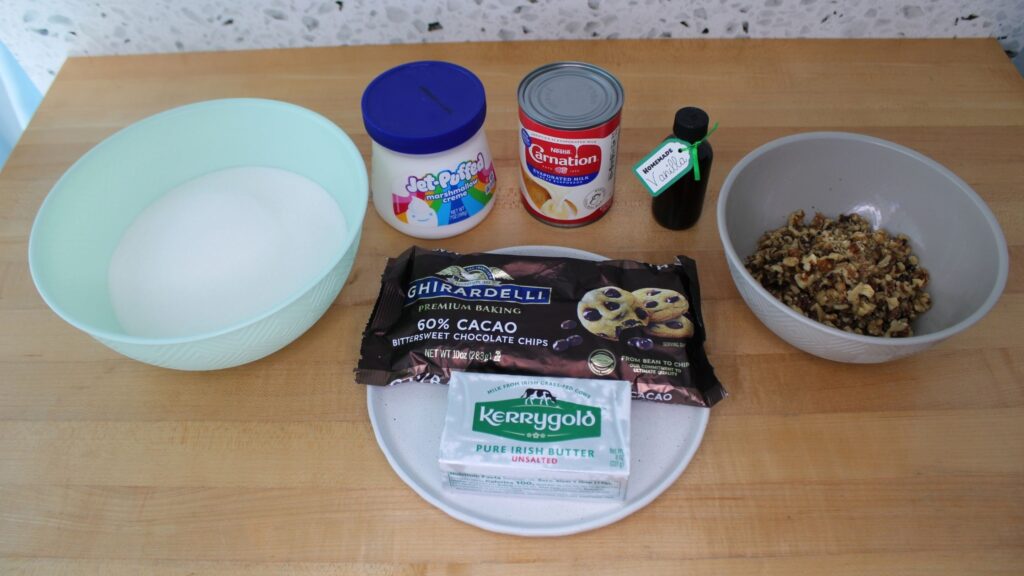
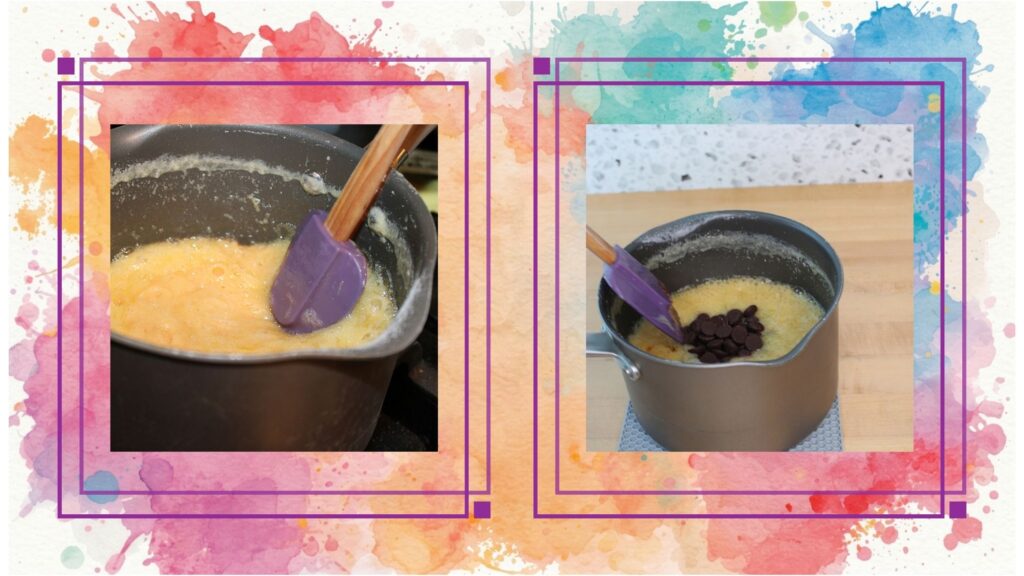
My biggest concern about recreating this particular recipe was the marshmallow component. The marshmallow in the Disney candies I grew up with had a texture between marshmallow cream and marshmallows. Not too creamy but not solidified either. I knew it would be tricky. The fudge I was sure I could do. I have made the same fudge for years, and it comes out perfect every time.
This Marshmallow is Going to End Me
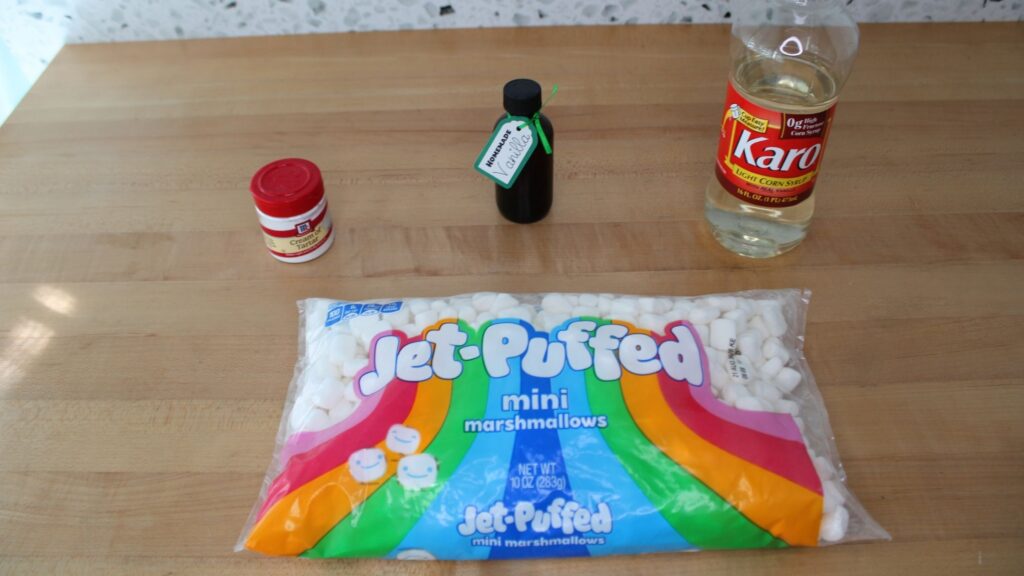
I had two theories of thought on the marshmallow portion. One was to melt the marshmallows, add Karo syrup, cream of tartar, and vanilla, and then whip the mixture. It did not go well!
I tried to fix it by adding a little powdered sugar to stiffen the mixture. It ended up a weird, blobby mess that reminded me of glue. I did not add it to my beautiful fudge.
Maybe a Tried and True Marshmallow Cream!?!
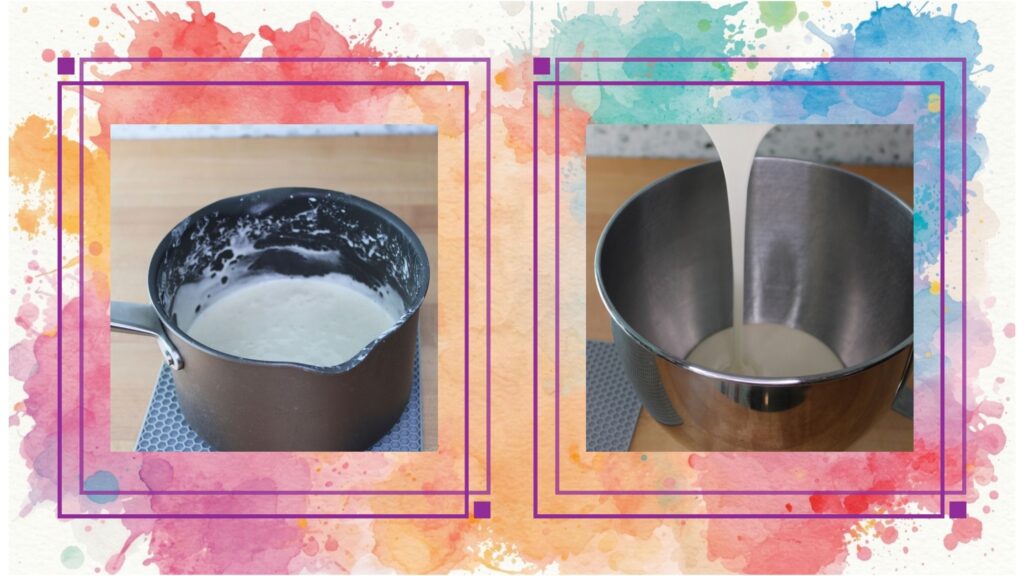
My next planned attempt was making a marshmallow cream frosting. I have made this frosting dozens of times, but it comes out just like marshmallow cream. It has a little more body and is stiffer, but it breaks down quickly, so I was afraid it wouldn’t hold up to dipping in chocolate. I was also afraid it would break down inside the candies.
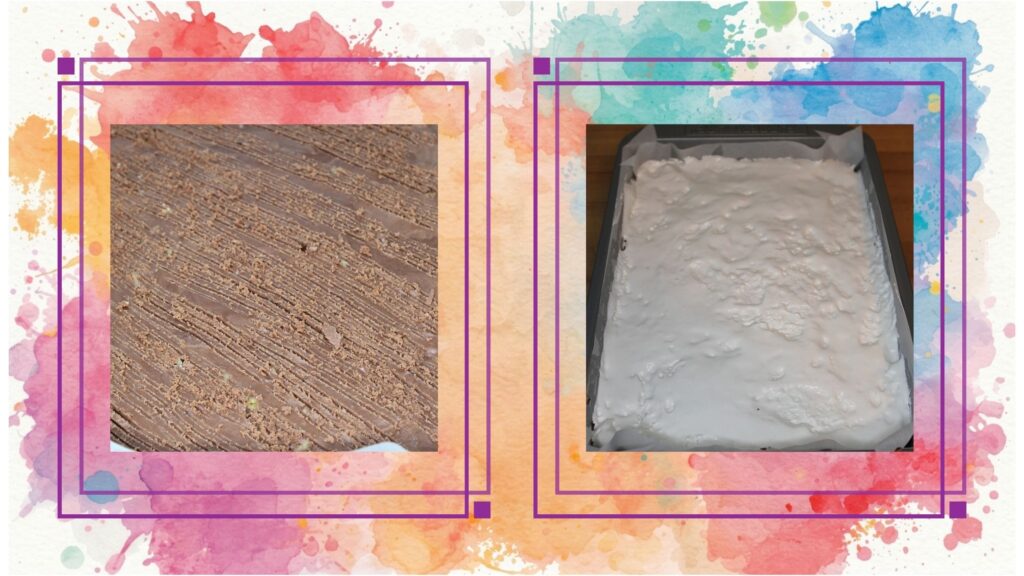
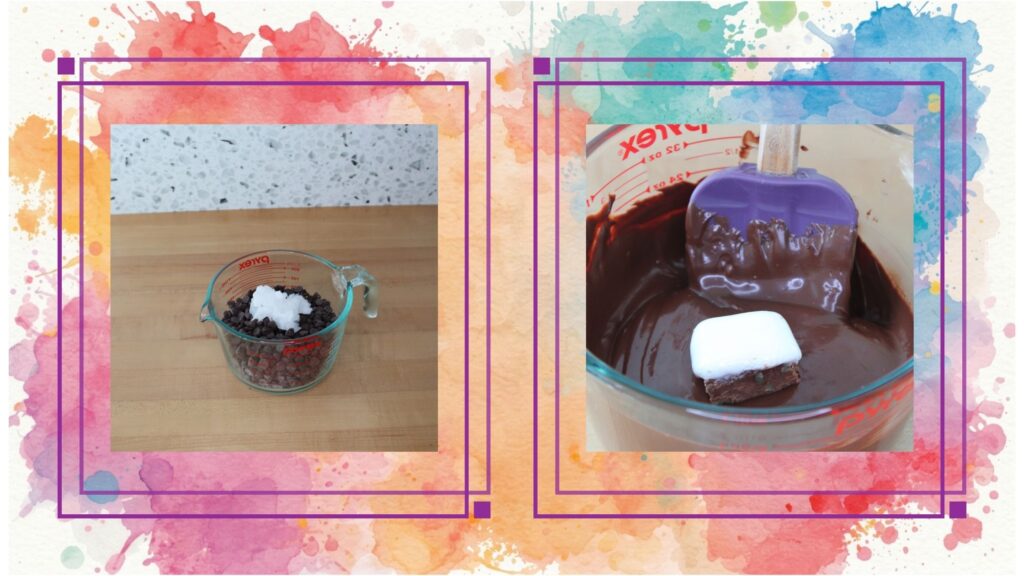
To save myself the work and heartache, I decided to top the scored fudge (I hoped it would help the marshmallow adhere) with the jarred marshmallow cream. I then refrigerated the candy before cutting it into squares.
The cream hardened in the fridge but started to spread rather quickly once I cut it into pieces. I promptly placed the squares in the freezer so I could dip them in the chocolate.
It Sorta Worked
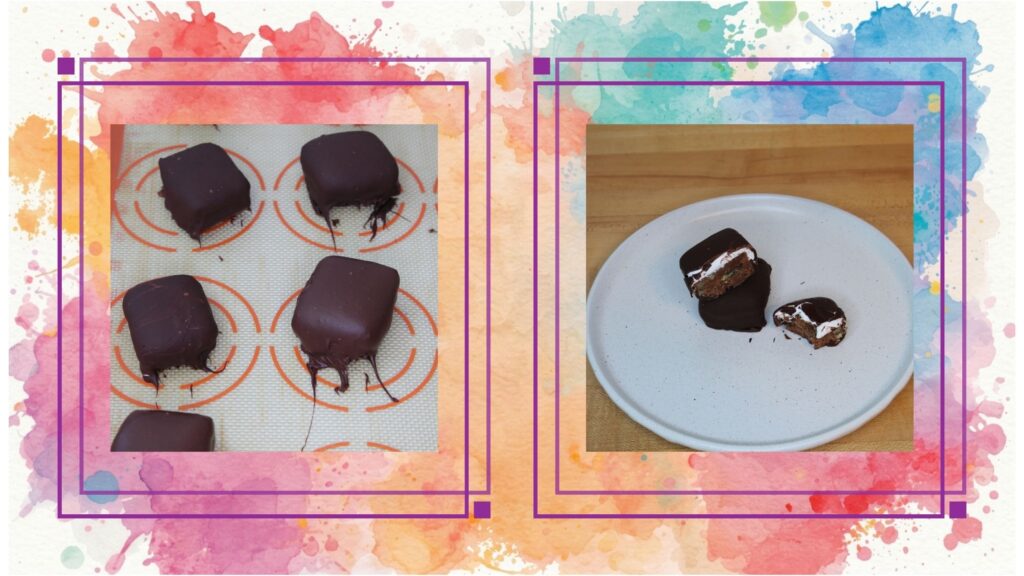
The method worked, and the candies tasted just like the ones I remembered, but the marshmallow wasn’t right. I also thought the fudge was too thick in proportion to the marshmallow. The candies definitely needed to stay refrigerated, or the marshmallow started to leak out!
3 1/2 Forks Given
Unfortunately, this attempt resulted in 3 ½ forks! Which means back to the drawing board.

I’m going to try to make marshmallow from scratch and see how that goes. I also invested in a candy mold to help better proportion out the fudge and marshmallow layers for my next attempt. I’m determined to get these right so I can bring a little nostalgia from my early days and Disneyland back into my life.
