
I have dreaded this challenge for a while! Honestly, I’m horrible at rolling out any dough. I even bought a tortilla press to use for my grandmother’s homemade flour tortillas. That’s how bad I am! She tried to teach me, and they were never round. One took on the shape of a T-shirt!
I Fear the Crust
The only thing I am worse at is cutting in a straight line. It was the only “Needs Improvement” I got in school. The few times I have tried rolled cookies or dough have ended in disaster. I have made the odd roundish pizza before, but it is not my strong suit.
Besides, my bestie makes the best pie crust; she always gets compliments, and I figured why learn? But here we are!
Butter is Not Always Better
Now, I am using her recipe, and I know I will get a lot of detractors, but she’s always used a shortening-based dough, just like her mother and grandmother. So, I am not messing with a good thing and sticking with her recipe.
All the pies I have shared with others over the years, and not one person has ever noticed it didn’t have butter. She has used butter once or twice, but the pies were never as crispy and flaky as the shortening dough. Nor did it taste as good!
A Crust That Forgives
The best part? The dough is very forgiving and just plain simple to make. Exactly what I needed for this challenge.
I did, however, make two attempts in achieving the perfect crust!
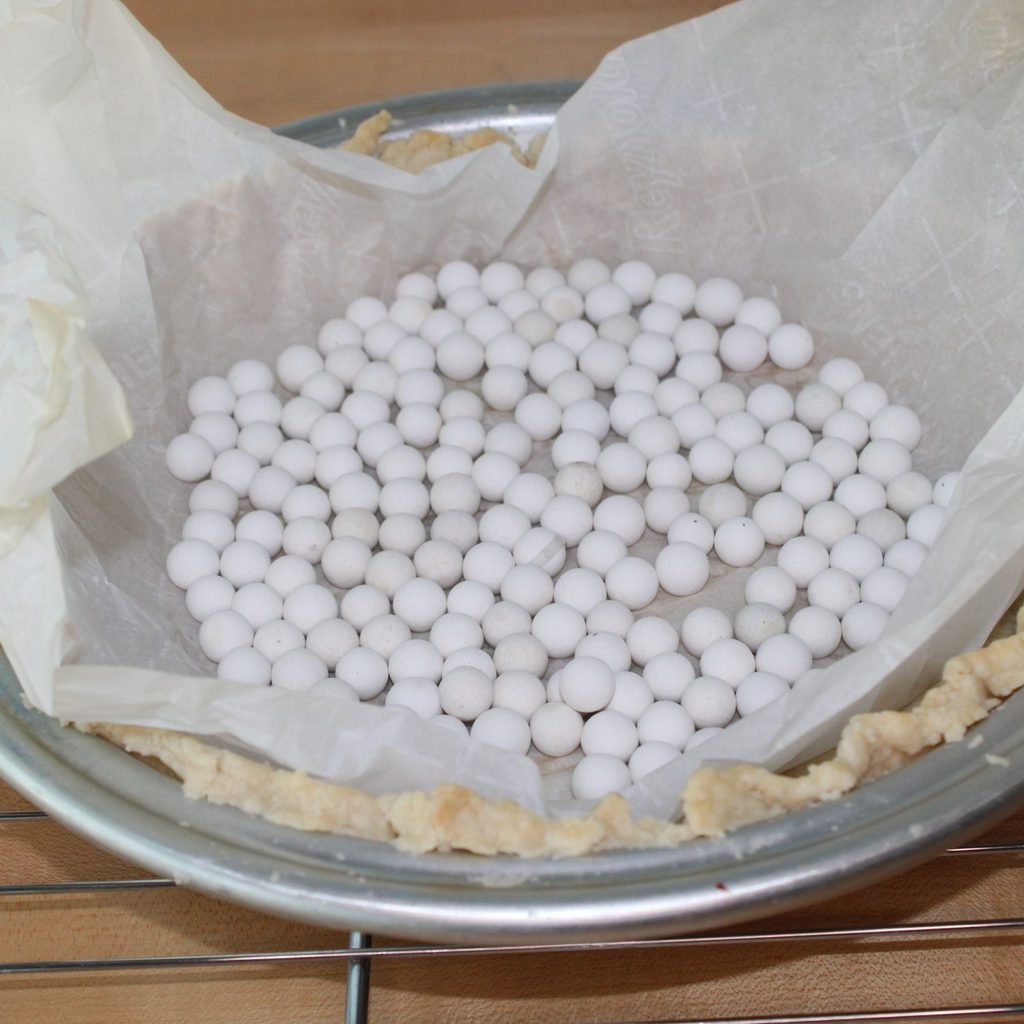
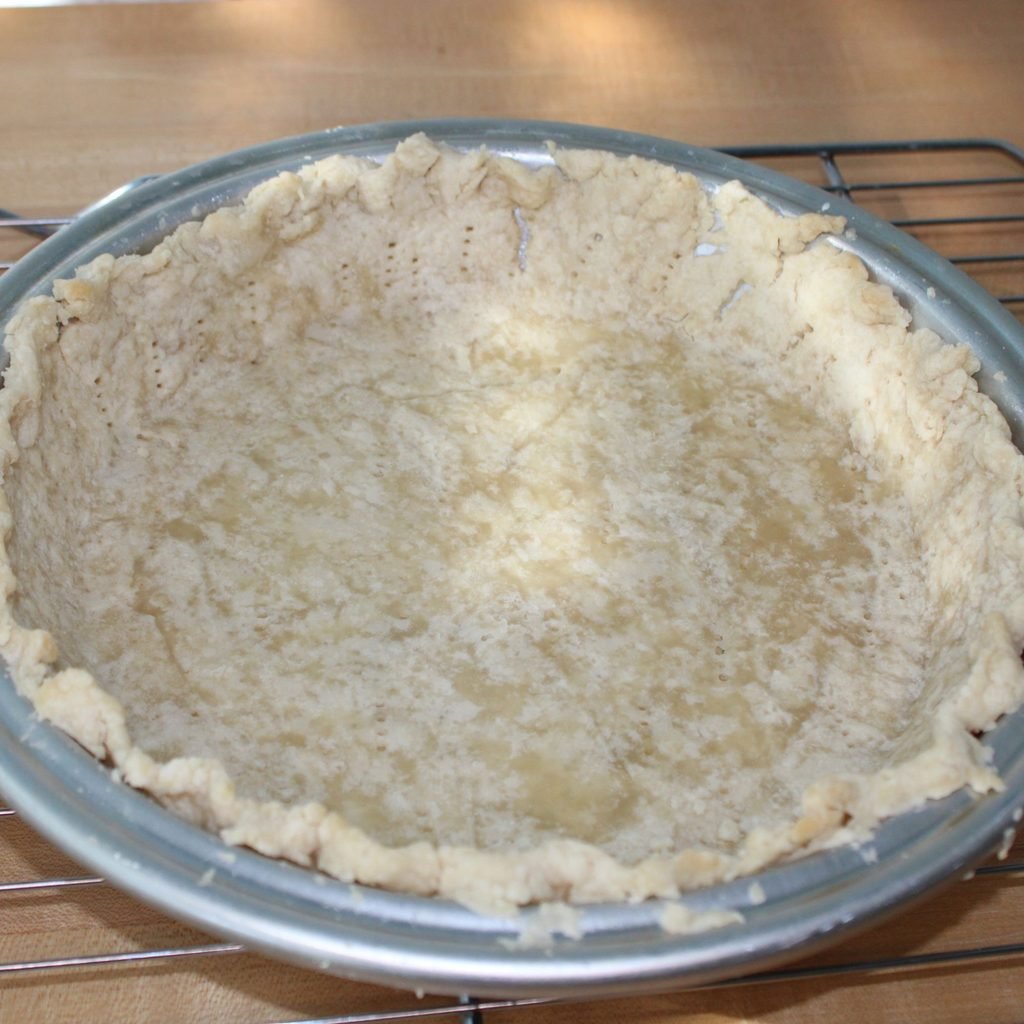
My first go was on a very dry, windy day here in Southern California. This meant I needed a little extra water, and the dough was still a little crumbly. The crust came out well, except the drier dough baked with a few minor cracks. I planned on using a custard-style filling, and I felt it was unwise to use the finished, cracked crust.
Waste Not, Want Not
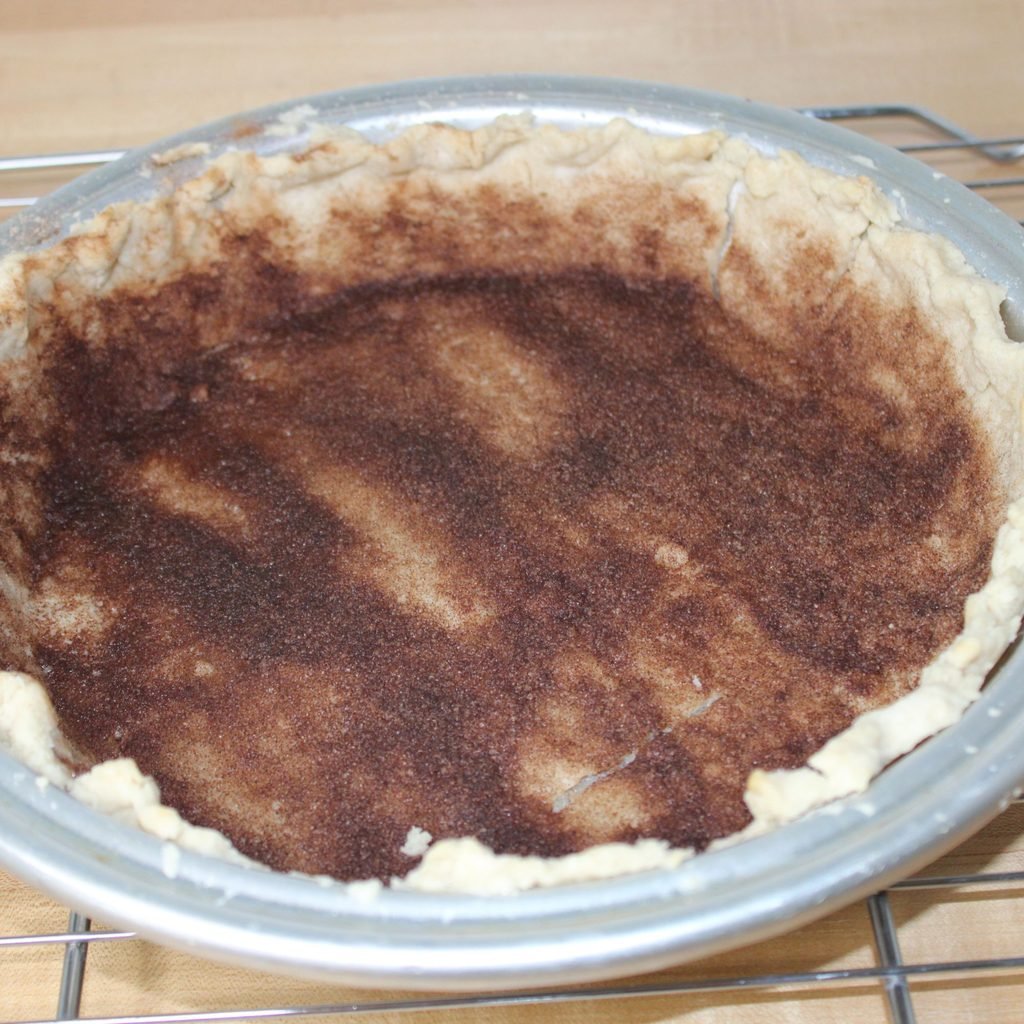
However, I am a firm believer in “waste not, want not,” so I used the crust to make a poor man’s pie. That’s what my bestie calls it. It is basically leftover pie dough topped with butter, cinnamon, and sugar and baked to perfection! The only difference is that we had an entire pie of it!
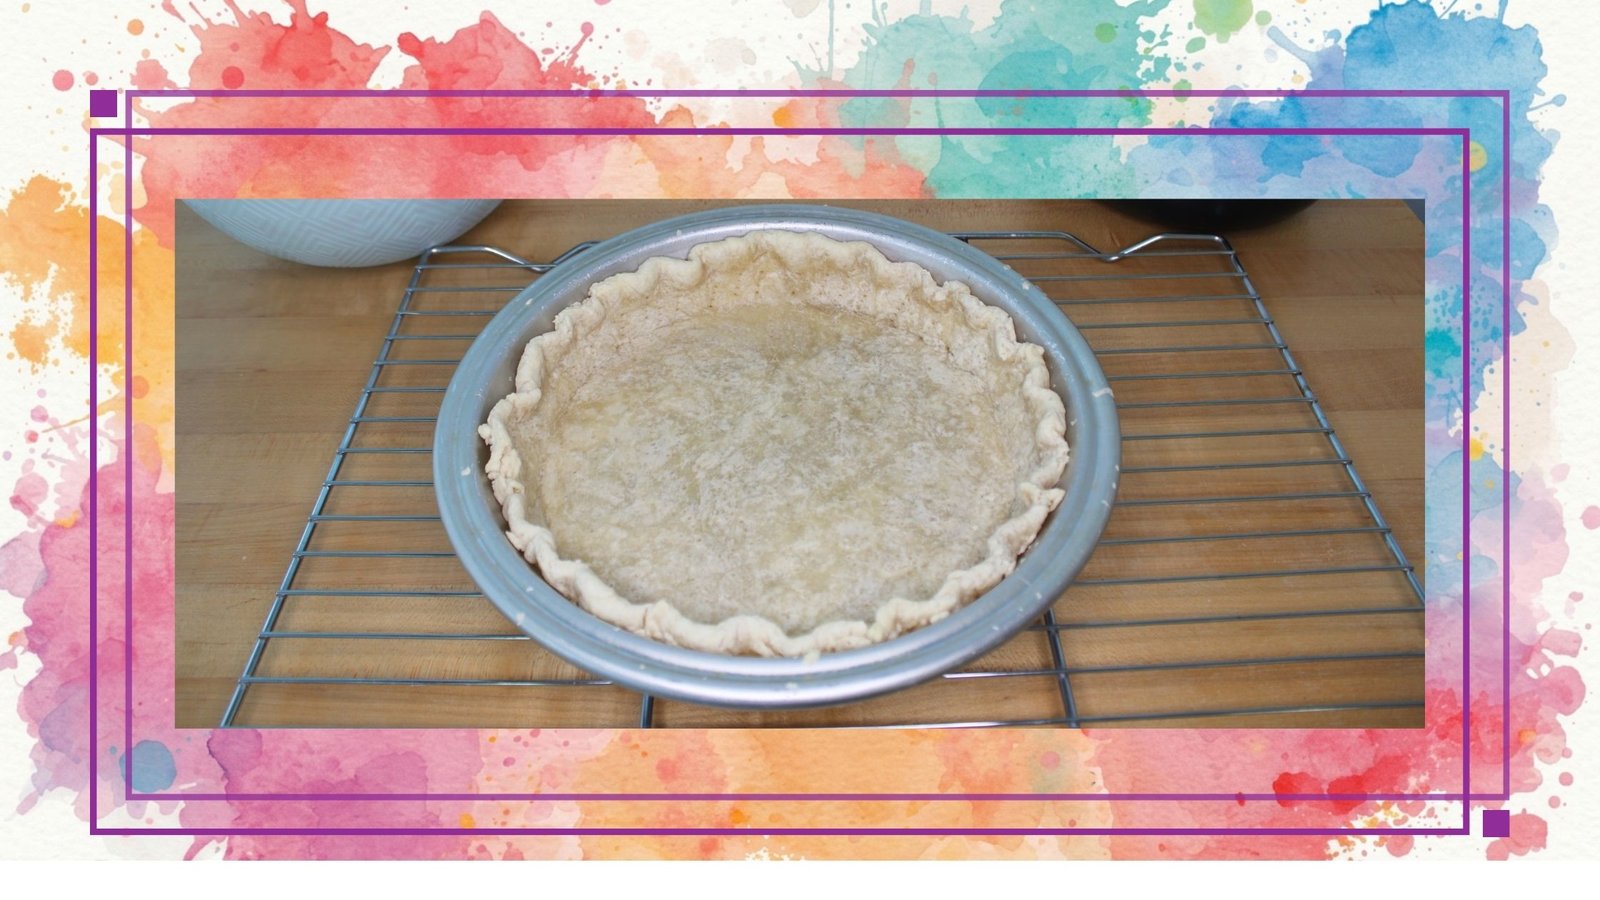
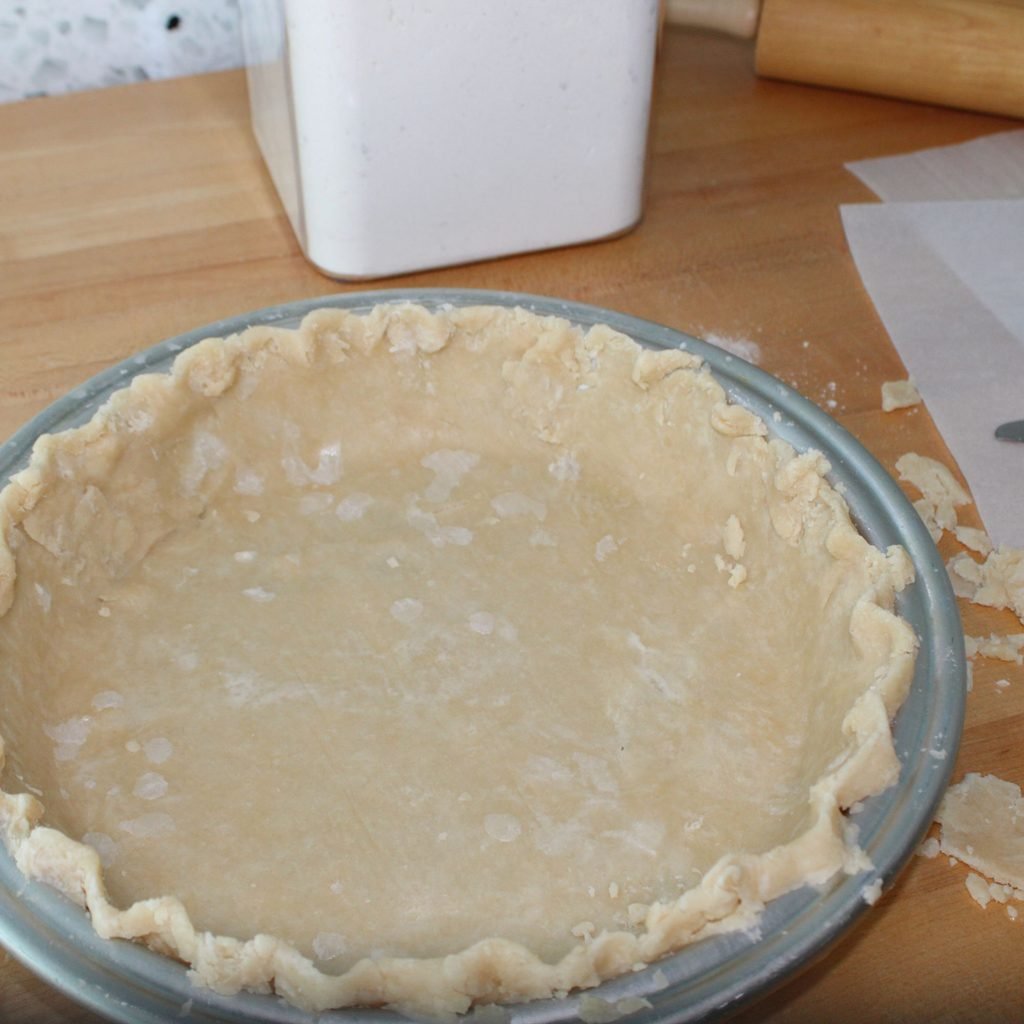
I waited a few days for a weather change; they happen frequently here, and then went at it again. This time everything came out perfect, though I do need to work on my crimping technique 😉
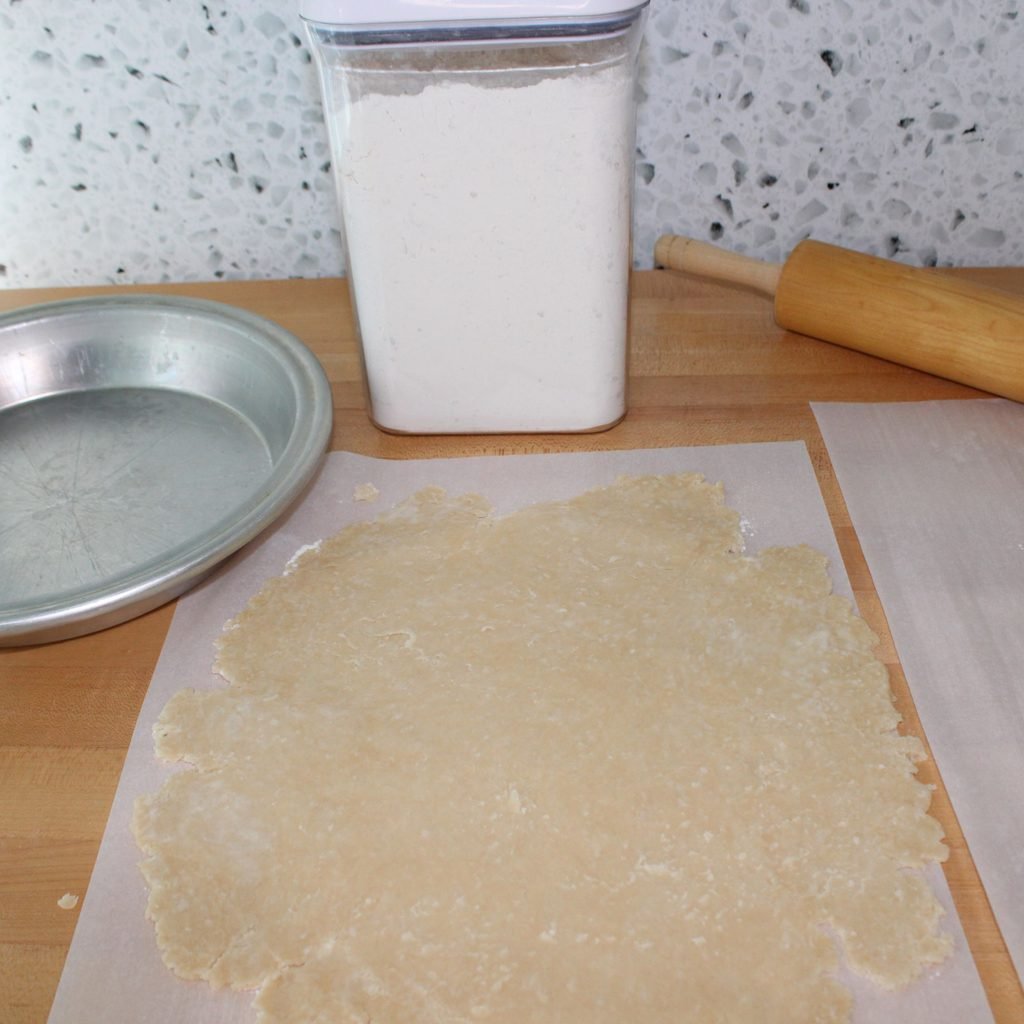
In 100% transparency, I was nursing a sore wrist. No idea how that happened! I could only manage a 12-inch diameter. The crust was a little shy, but she helped me get the extra inch I needed to cover the pie pan.
I Did It!
I was thrilled with the results, and it was the perfect crust for my upcoming Monday recipe. You’ll need to check back to see what pie I made. I’ll probably let my bestie continue making the crusts for my pies, but at least now I know I can! That’s why I am giving this pie crust 4 1/2 forks.
Have you ever tried making a pie crust from scratch? Are there any baked goods you are intimidated to make? I hope this post inspires you to tackle your fears soon.
Happy Baking!

For this recipe you will need:
- All Purpose Flour
- Cold/Iced Water
- Shortening
- Pinch of Salt
Method
Prep
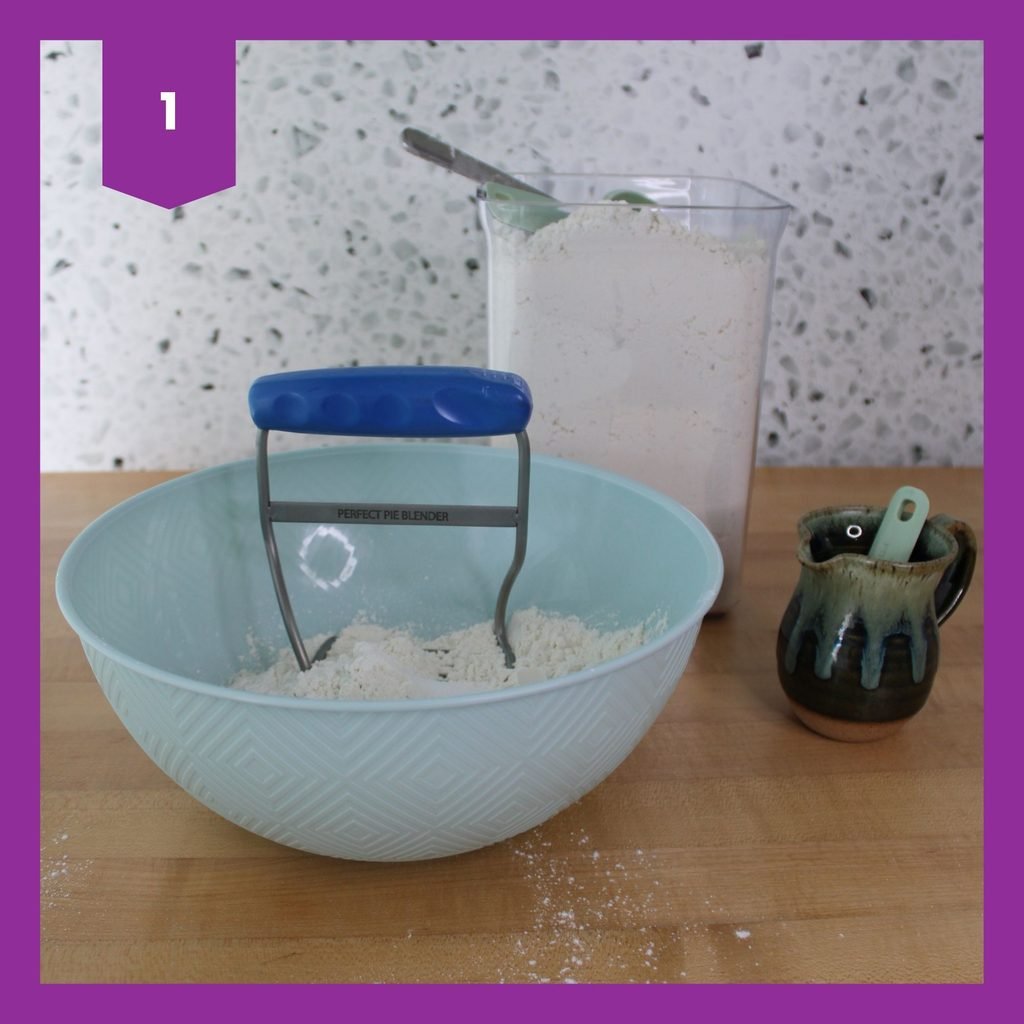
Gather ingredients and flour to prep work surface.
Crust
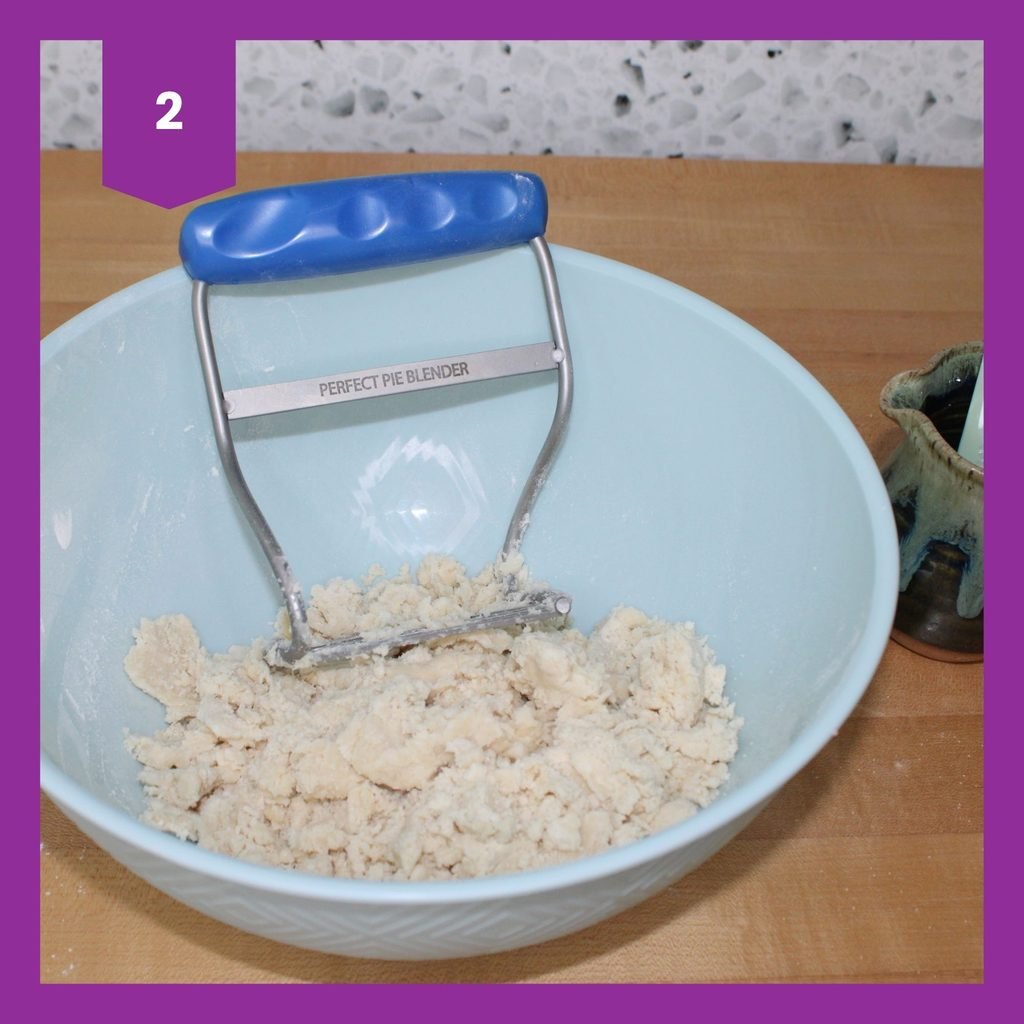
Add flour and salt to a bowl. Cut in shortening using a pastry blender.
Sprinkle with water, 1 TBSP at a time, mixing until dough is crumbly but will hold shape when pinched (additional water can be added as needed).
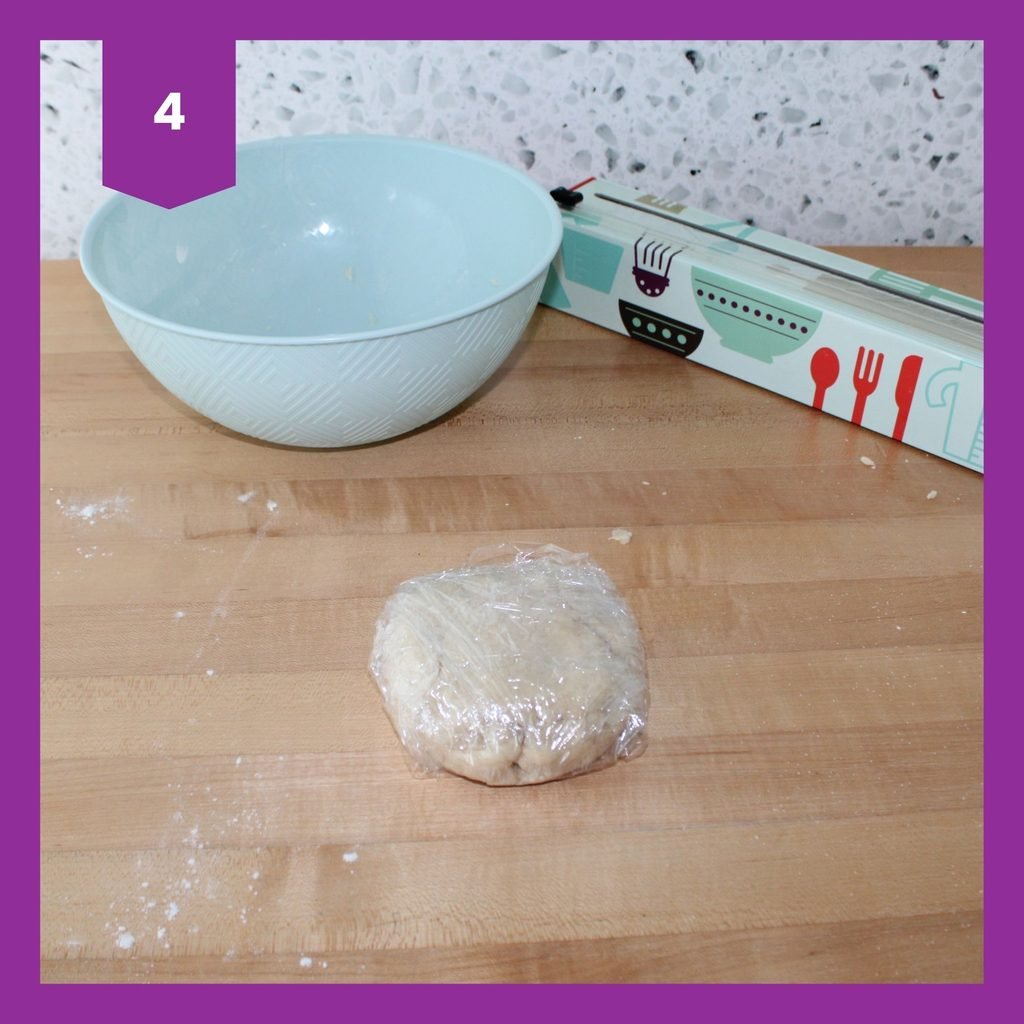
Gather dough into a ball and flatten into a disc shape. Wrap in plastic wrap and refrigerate for 2-3 hours (This step is not necessary but does result in a slightly flakier crust).

Roll & Fit
Take the dough out of the refrigerator and let sit at room temperature for 10-15 minutes.
Place dough on a floured surface or floured parchment paper (or wax paper).
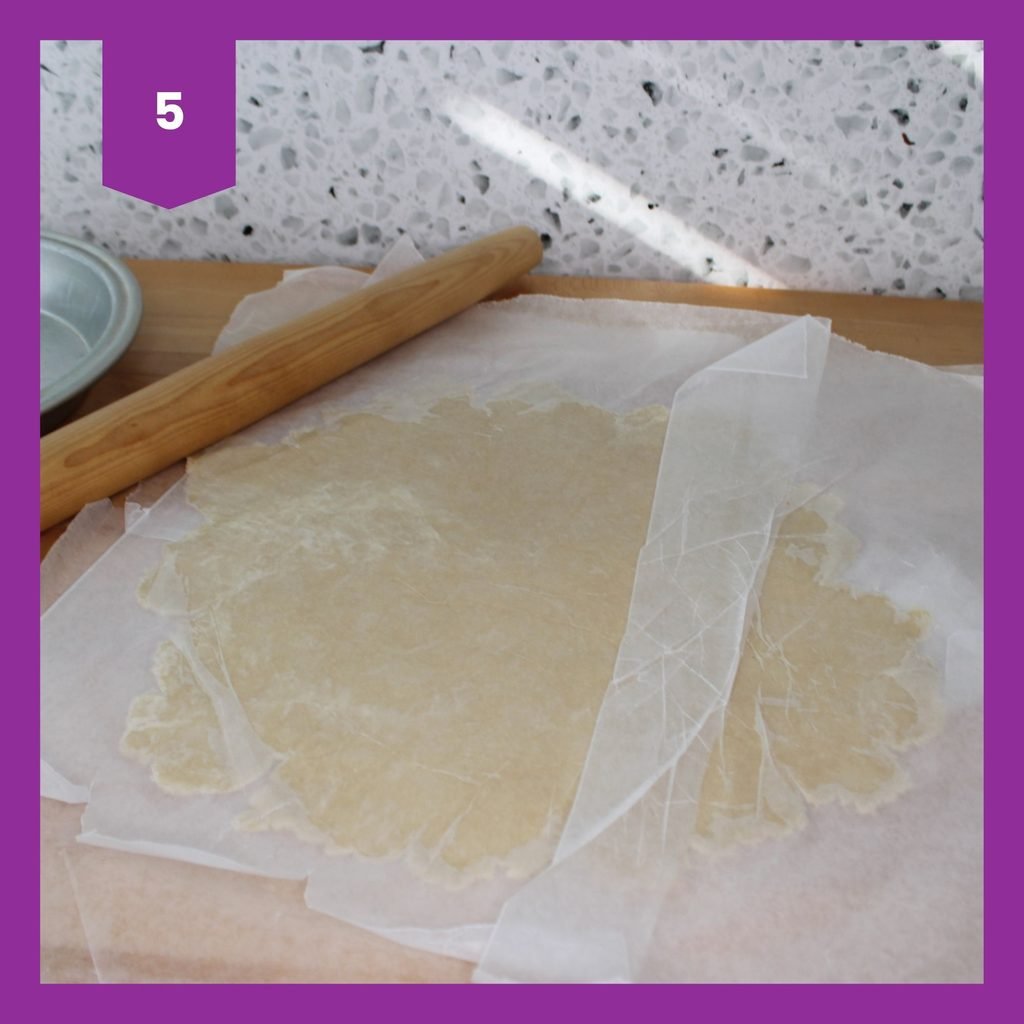
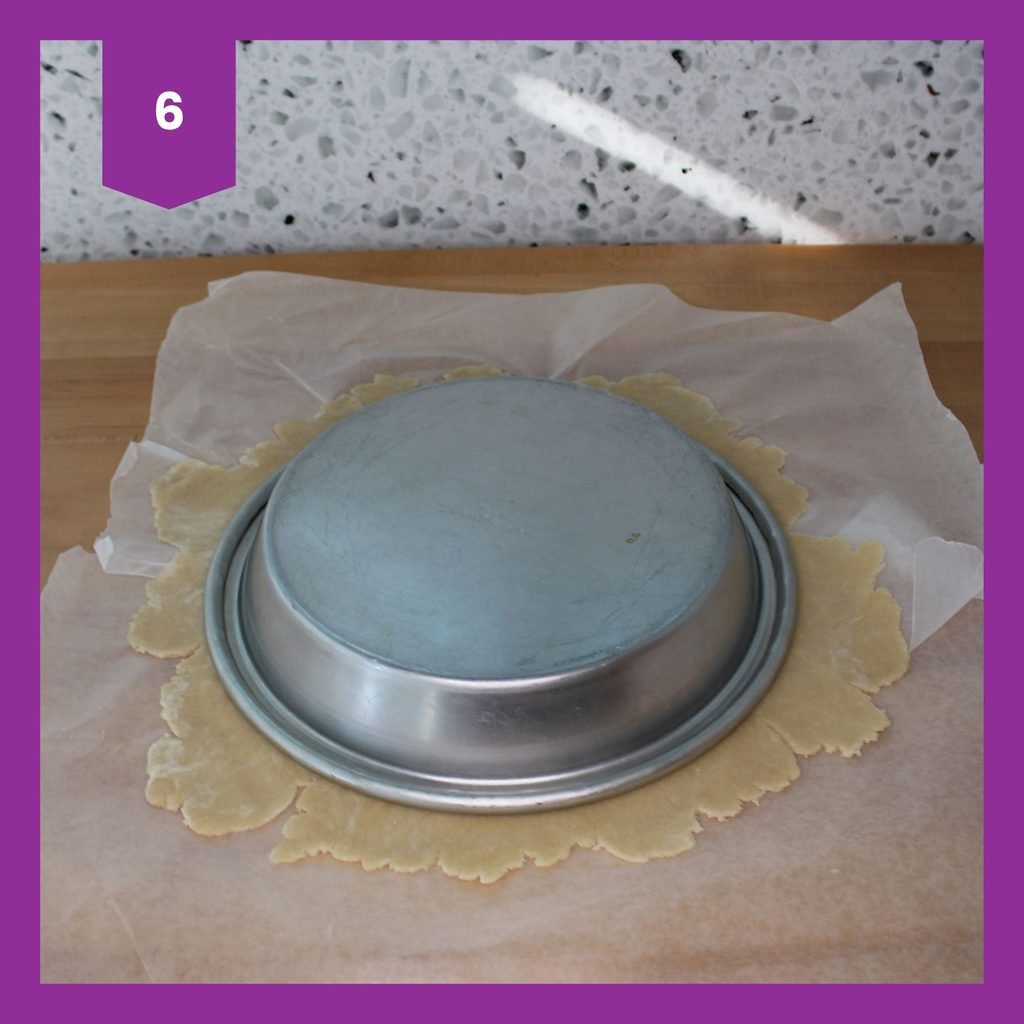
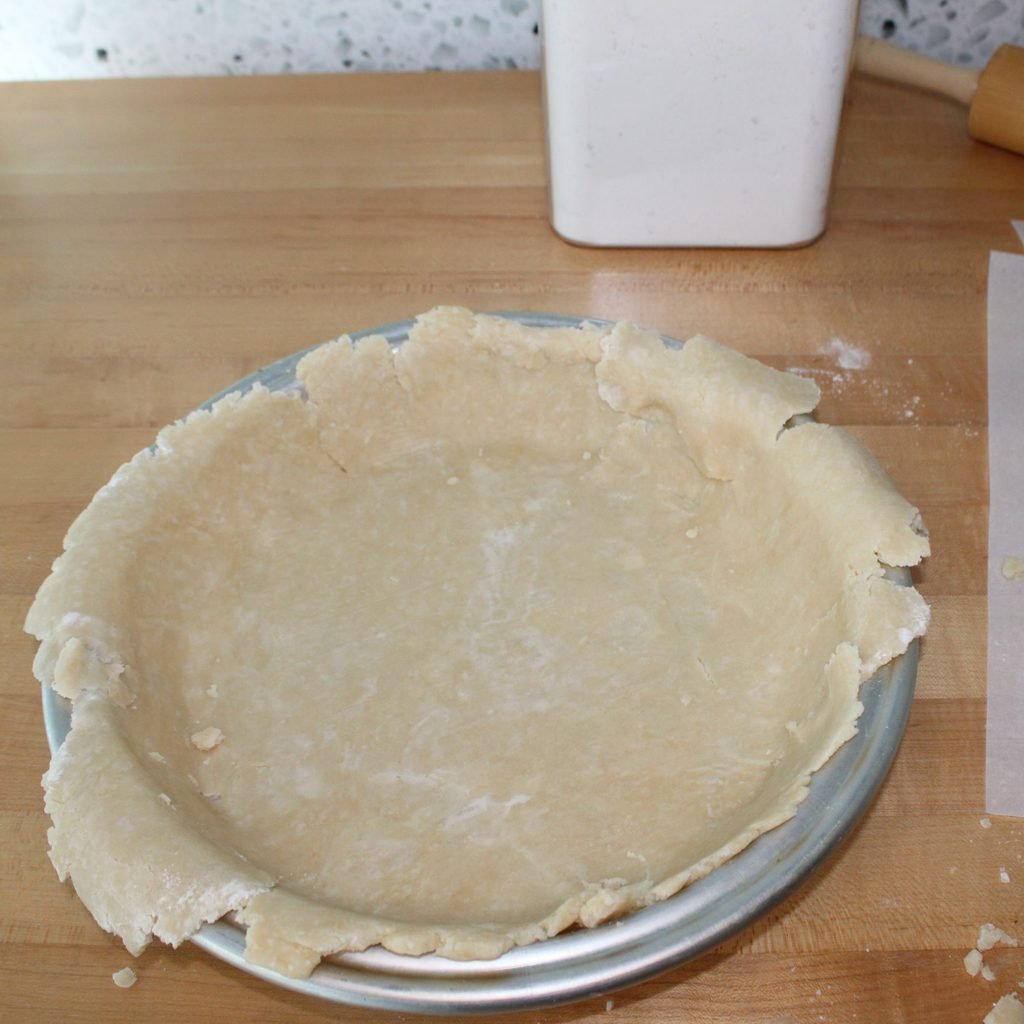
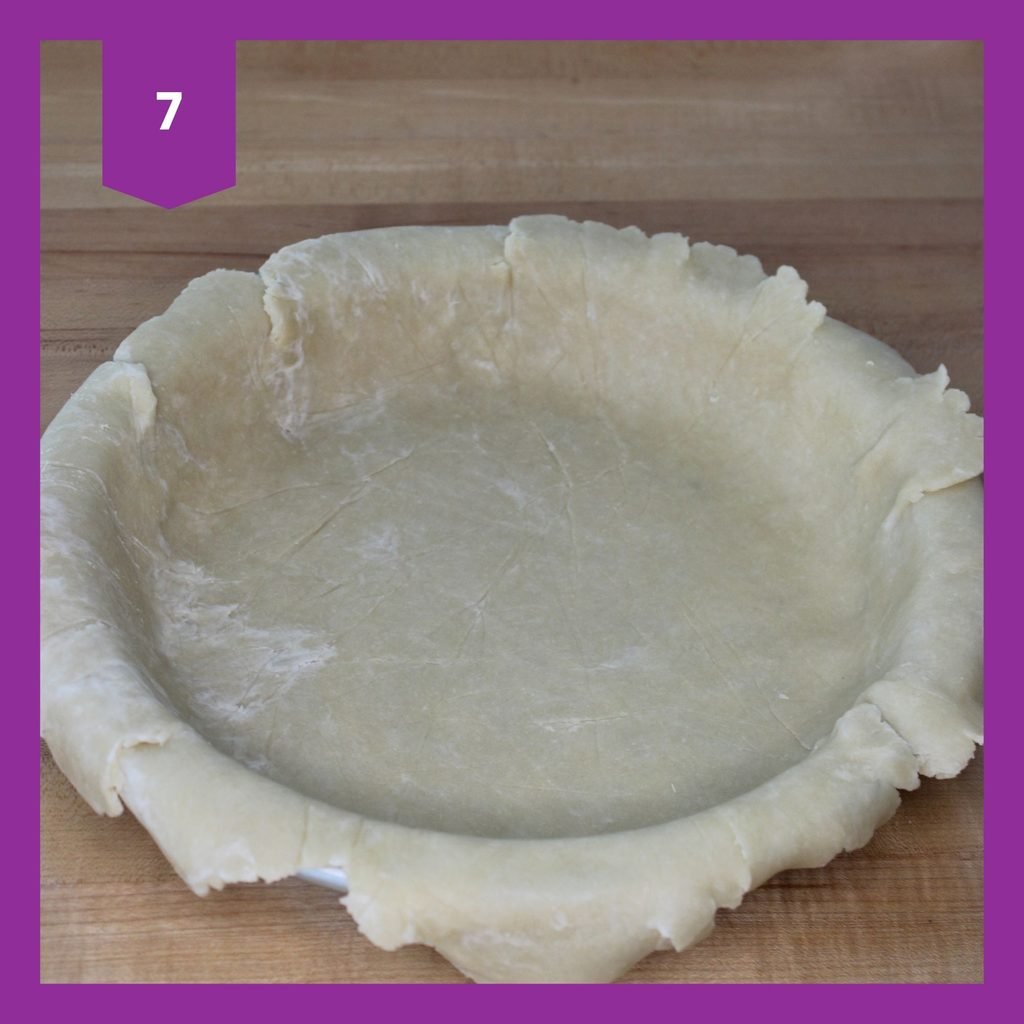
Roll dough 2-3 inches larger than your pie pan. Place the pie pan on top of dough, put your hand under the parchment paper and flip into the pie pan.
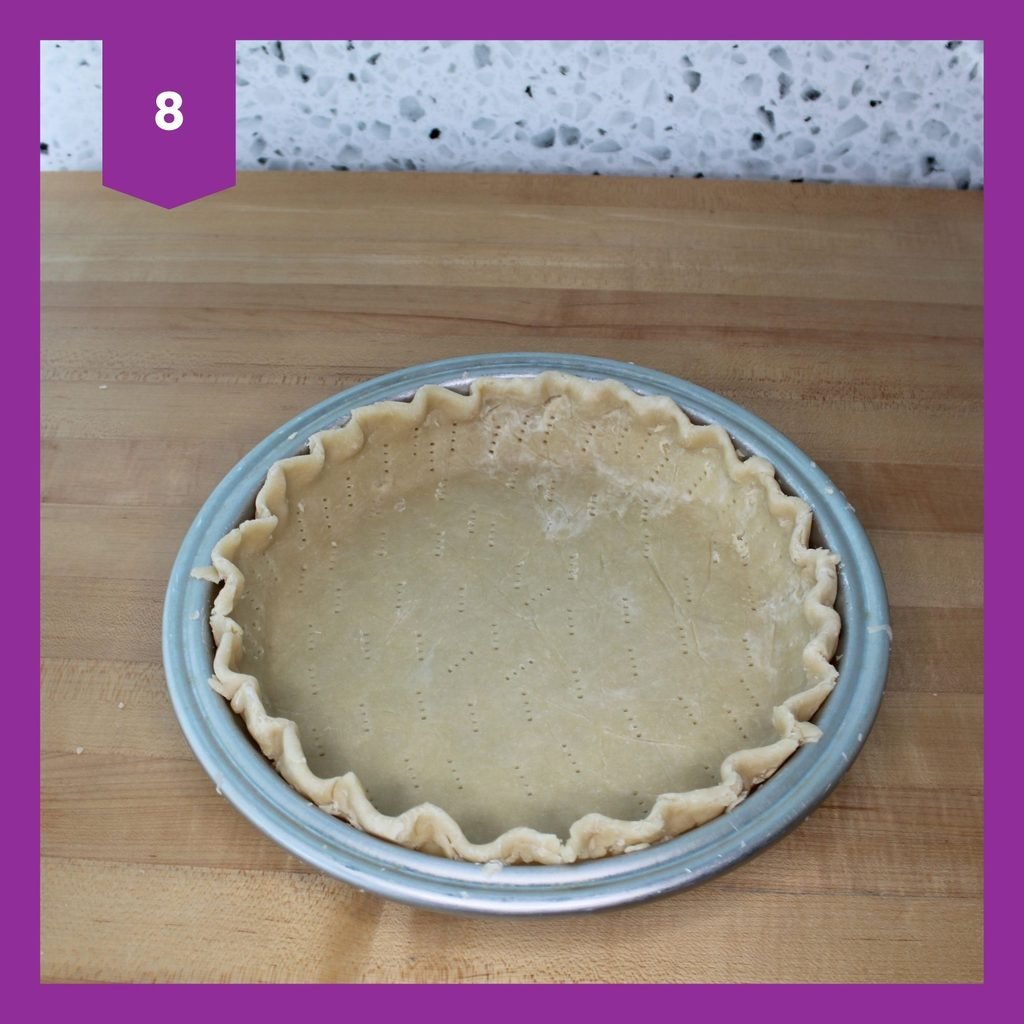
Trim crust and create a fluted edge, or crimp with a fork for an easier finish.
Pie Crust
- Prep Time: Less than 5 minutes
- Cook Time: 10- 20 minutes
- Total Time: 25-30 minutes (2.5-3.5 hours if chilling)
- Yield: 8 servings
- Category: Dessert
Ingredients
- 1 1/2 cups all purpose flour
- 1/2 tsp. salt
- 1/2 cup shortening
- 2 to 3 TBSP cold water
Instructions
- Add flour and salt to a bowl.
- Cut in shortening using a pastry blender.
- Sprinkle with water, 1 TBSP at a time, mixing until dough is crumbly but will hold shape when pinched.
- Additional water can be added as needed.
- Gather dough into a ball and flatten into a disc shape.
- Wrap in plastic wrap and refrigerate for 2-3 hours.
- Take dough out of the refrigerator and let sit at room temperature for 10-15 minutes.
- Place dough on a floured surface or floured parchment paper (or wax paper).
- Roll dough 2-3 inches larger than your pie pan.
- Place the pie pan on top of dough, put your hand under the parchment paper and flip into the pie pan.
- Trim crust and create a fluted edge, or crimp with a fork for an easier finish.
