

It’s Time for a New Happy Morsel!
Say hello to my most-requested dessert: Dreamy Peanut Butter Pie!
I have made countless variations of this pie for years, and it couldn’t be easier to make. The first couple of times I made this pie, I used scratch-made pudding, whipped topping, and a traditional pie crust my bestie made. I even made a peanut butter and jelly version at my brother’s request. It was one of the best things I have ever eaten.

What?!? Peanut Butter and Jelly Pie!
My brother doesn’t eat much dairy these days, so I haven’t made that version in a while, but I may need to revisit it for an upcoming blog 😉 Jelly aside, you can’t go wrong with any variation you try. The filling is so luscious you could probably eat it on a shoe.
Nowadays I use instant pudding mix, but you can use the cook-and-serve version too. I also use store-bought whipped topping; it’s more work to make it from scratch, but you do you, boo! The one thing I always do is a homemade crust. I like adding brown sugar to mine; it adds an extra depth of flavor that the store-bought version doesn’t have.
Convenient Can Be Just As Good
One thing I will always stress when baking: this is your dessert, and if you are all about convenience, then work it! I can assure you it will be amazing either way.
Just a note: my crust recipe fits a 9-inch pan, but I typically use a 10-inch pan for my pies. I usually adjust the recipe, but I forgot, so ignore my crust shrinkage in the photos! The pie was delicious anyway!
This Pie Filling is Practically Foolproof
This pie filling is tasty and foolproof. It has vanilla pudding (I have done chocolate too), peanut butter, a splash of vanilla, whipped topping, and of course the crust. That’s it! Now I will suggest one thing… don’t use crunchy peanut butter. I know it’s my favorite too! I have done it before, and the peanuts will get soggy the longer it sits. But that is not a problem if you plan on sharing this with others. I don’t like sharing 😂.
For cookie crumbs, if you want to make your own crust, I suggest these. For years, I used Nabisco Famous Chocolate Wafer Cookies, but they are no longer sold ☹️. You can substitute sandwich cookies. You’ll need about 1 ½ cups of cookie crumbs. Just remember to do what works best for you.
For the upcoming holidays, I hope you consider adding this Dreamy Peanut Butter Pie to your table. And if you decide not to share, I will not judge!
Check out our other recipes here.
Happy Baking!
For this recipe you will need:
- Black Cookie Crumbs
- Brown Sugar
- Butter
- Salt
- Vanilla Pudding Mix
- Milk
- Vanilla
- Creamy Peanut Butter
- Whipped Topping
Crust Ingredients:
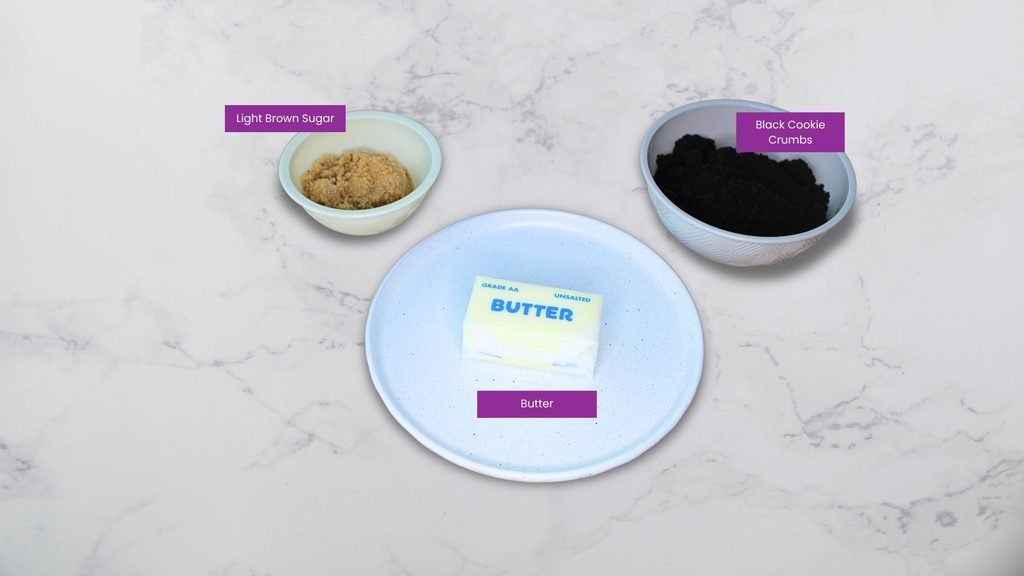
Pie Filling Ingredients:

Method
Prep
Preheat oven to 350°F. Melt butter.
Pie Crust
In a medium bowl, combine cookie crumbs, brown sugar, a pinch of salt, and melted butter.
Transfer the crumb mixture to a 9-inch pie pan. Use the bottom of a measuring cup or glass to firmly press the mixture across the bottom and evenly up the sides of the pan.
Bake the crust for 10 minutes until set. Set aside and cool completely.

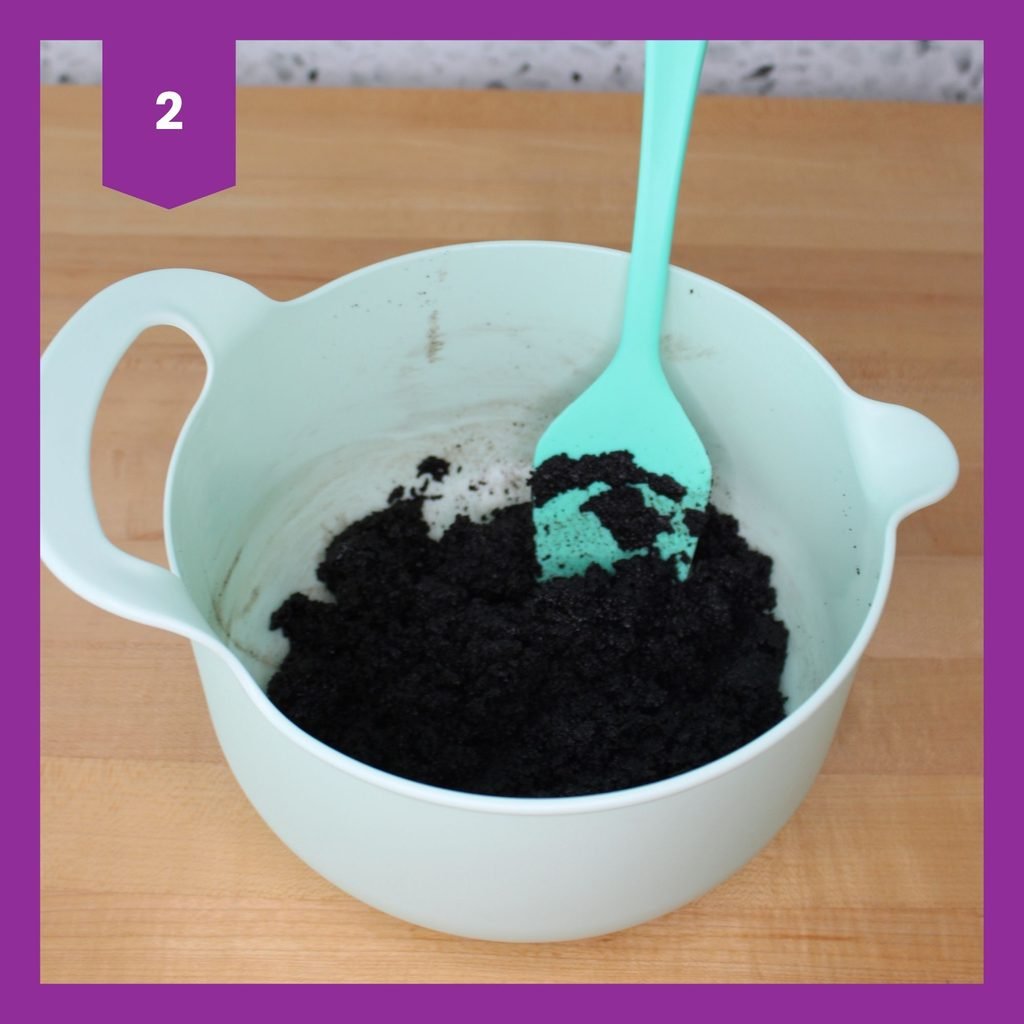
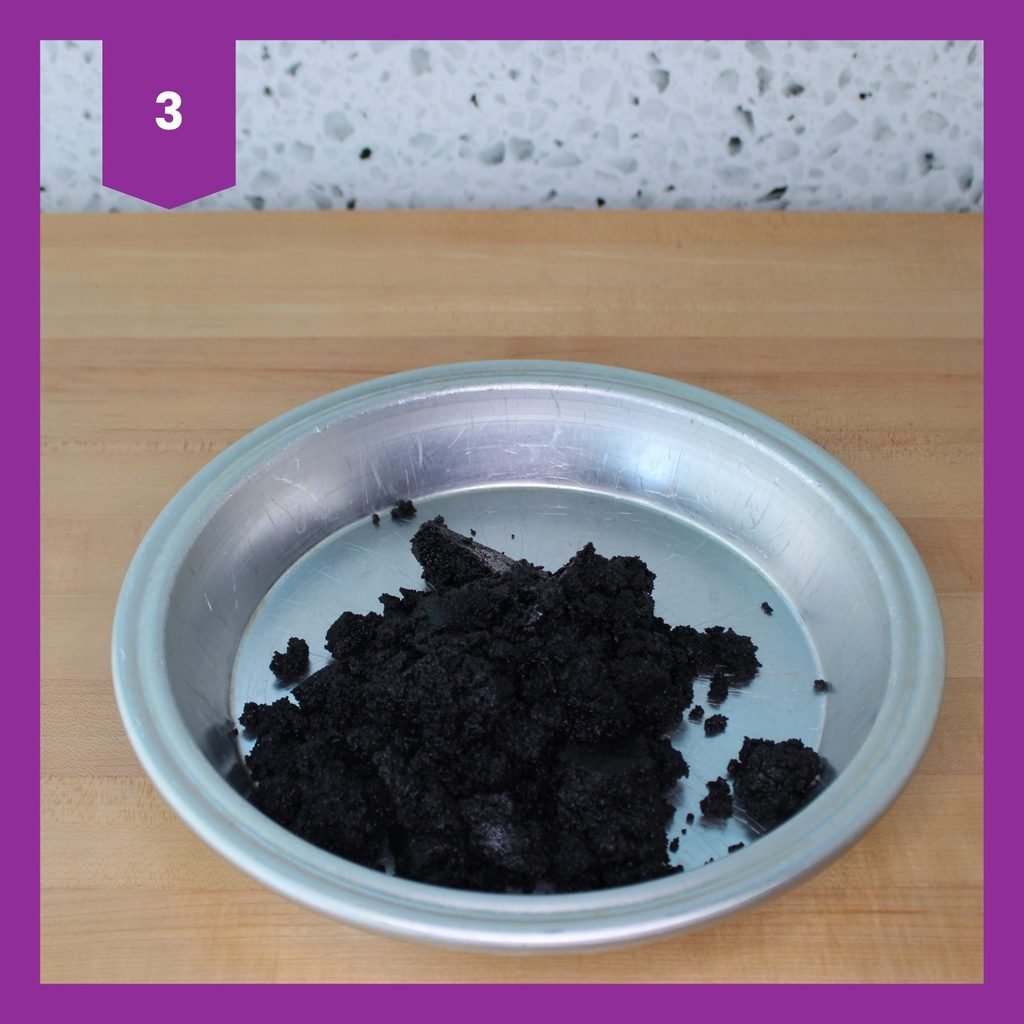
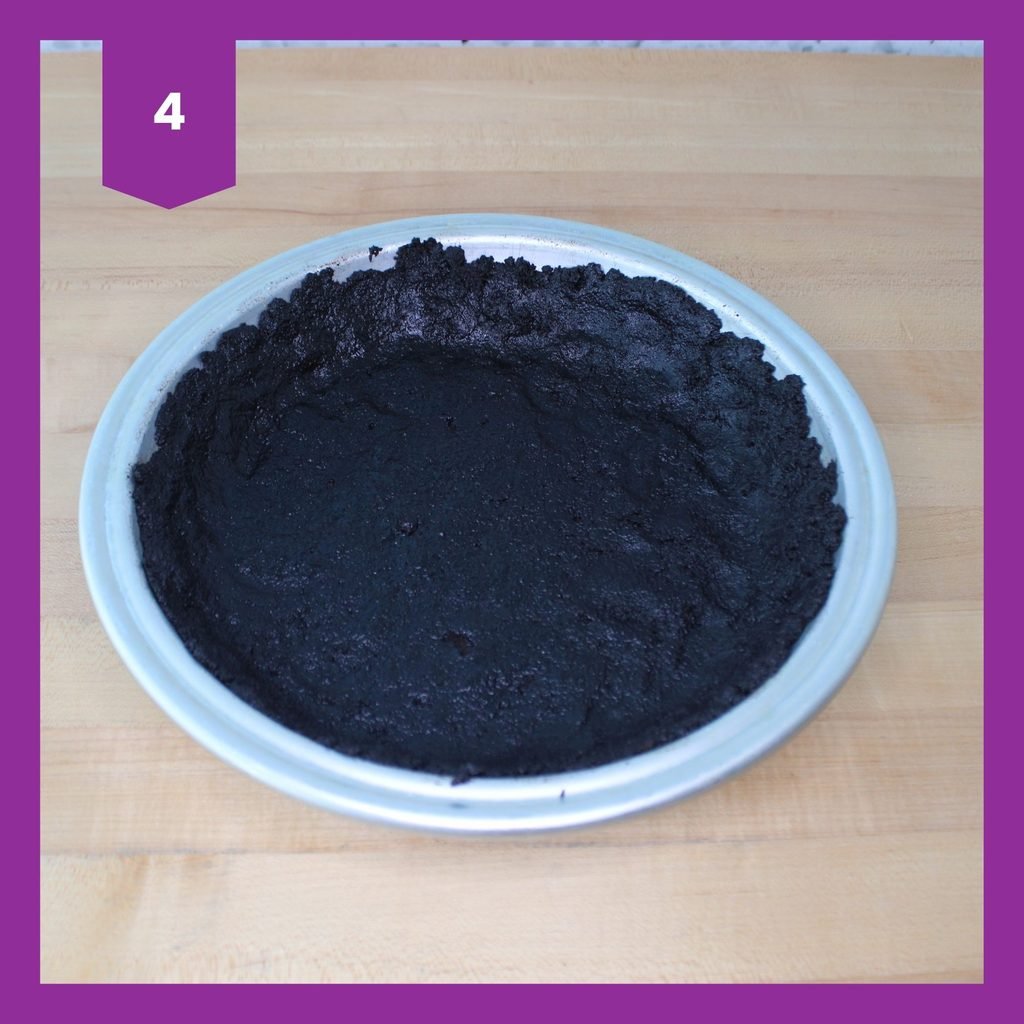
Pie Filling
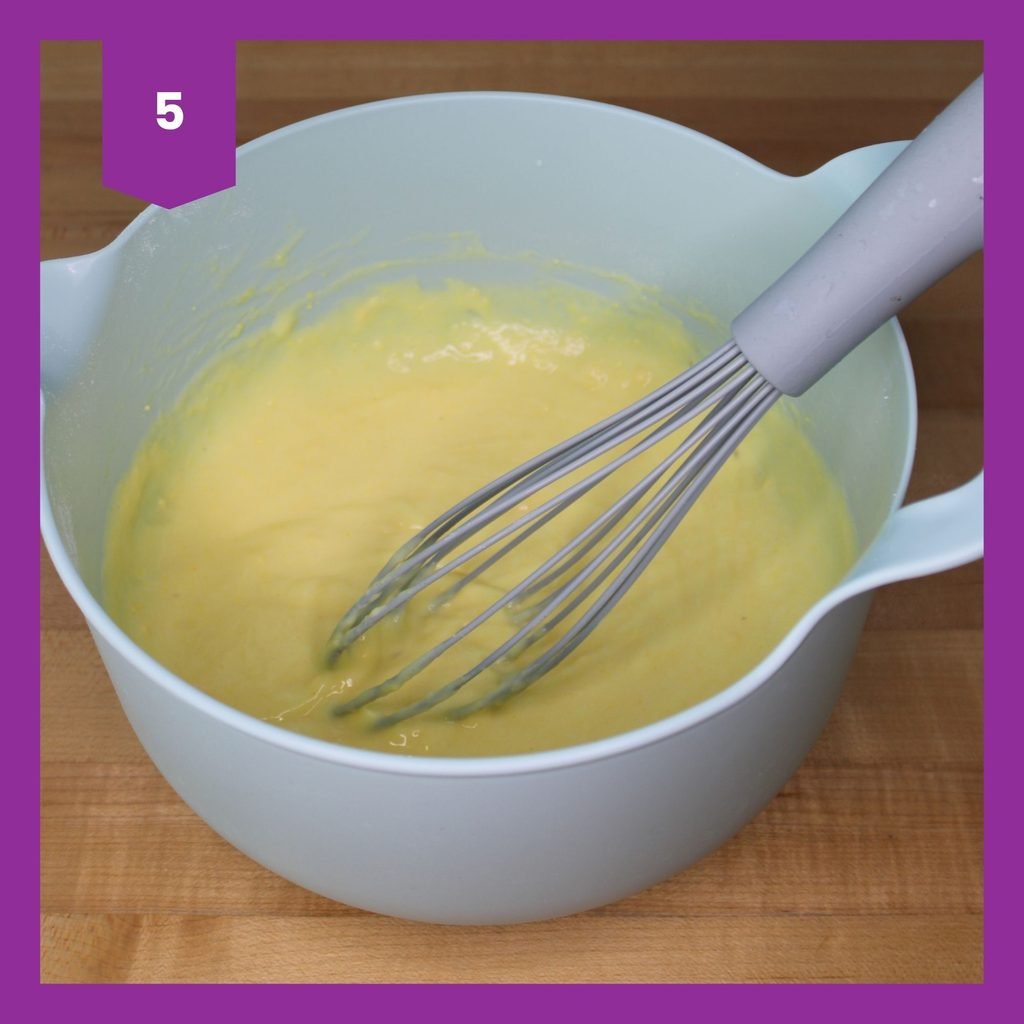
Pour 2 cups of cold milk into a medium mixing bowl. Add instant pudding mix and whisk or beat with an electric mixer for 2 minutes until well blended and slightly thickened. Set aside for at least 10 minutes to thicken.
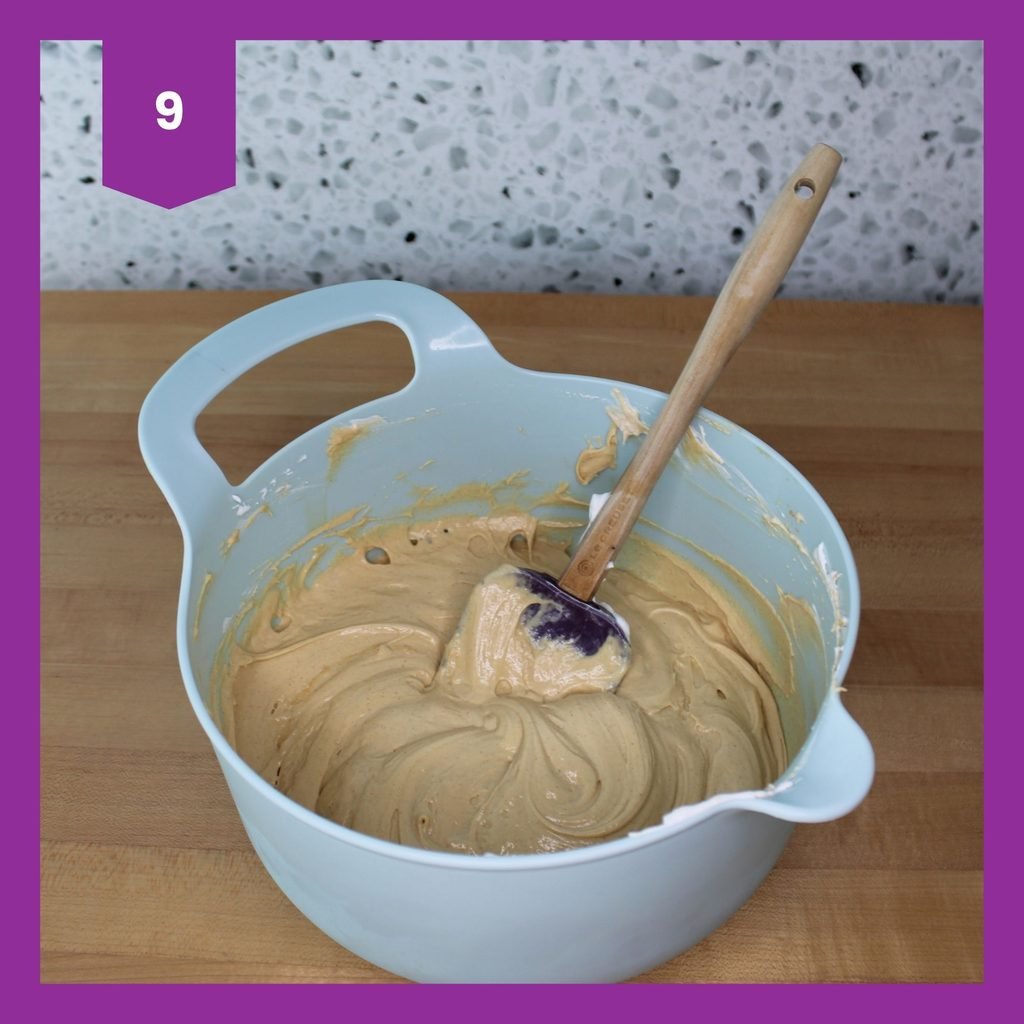
Once the pudding has thickened, add peanut butter and a splash of vanilla, measured with your heart. Beat until well blended.
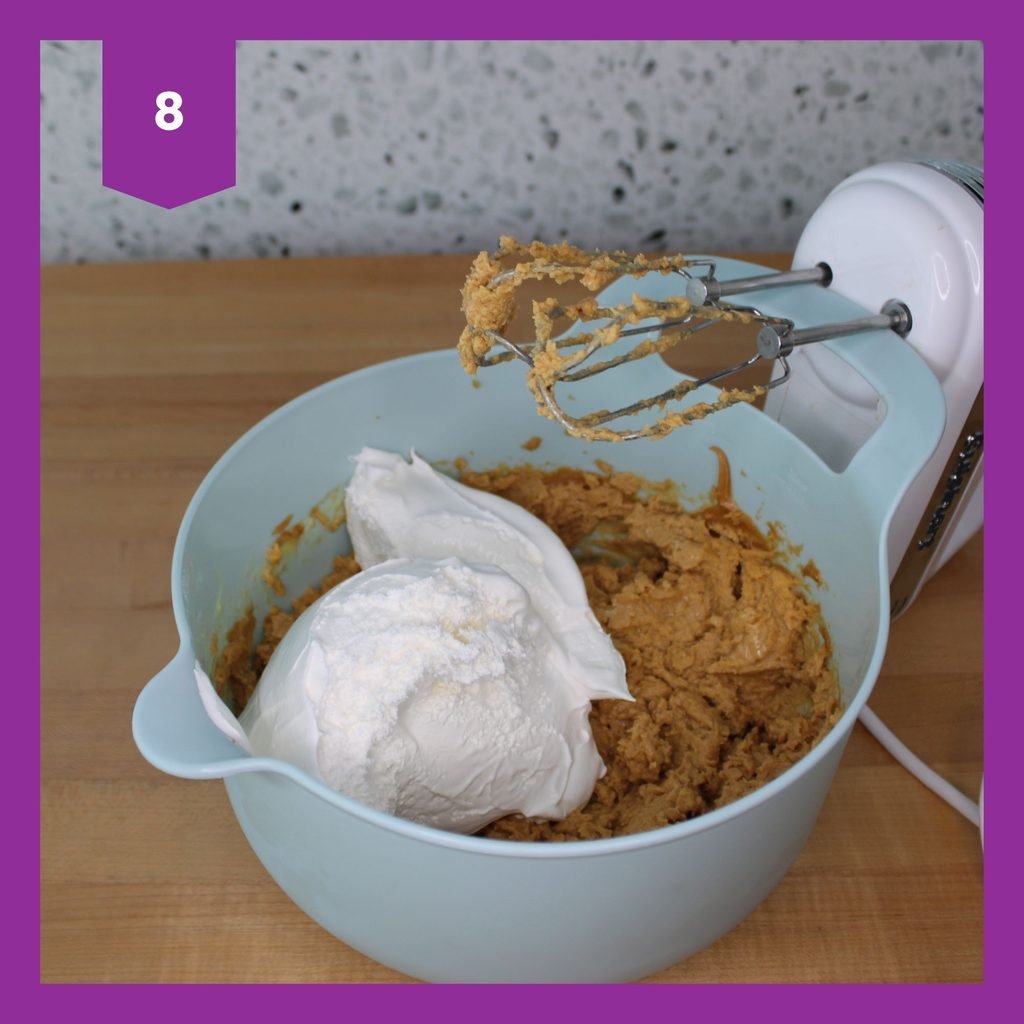
Add half of the whipped topping and beat until well combined.


Assembly
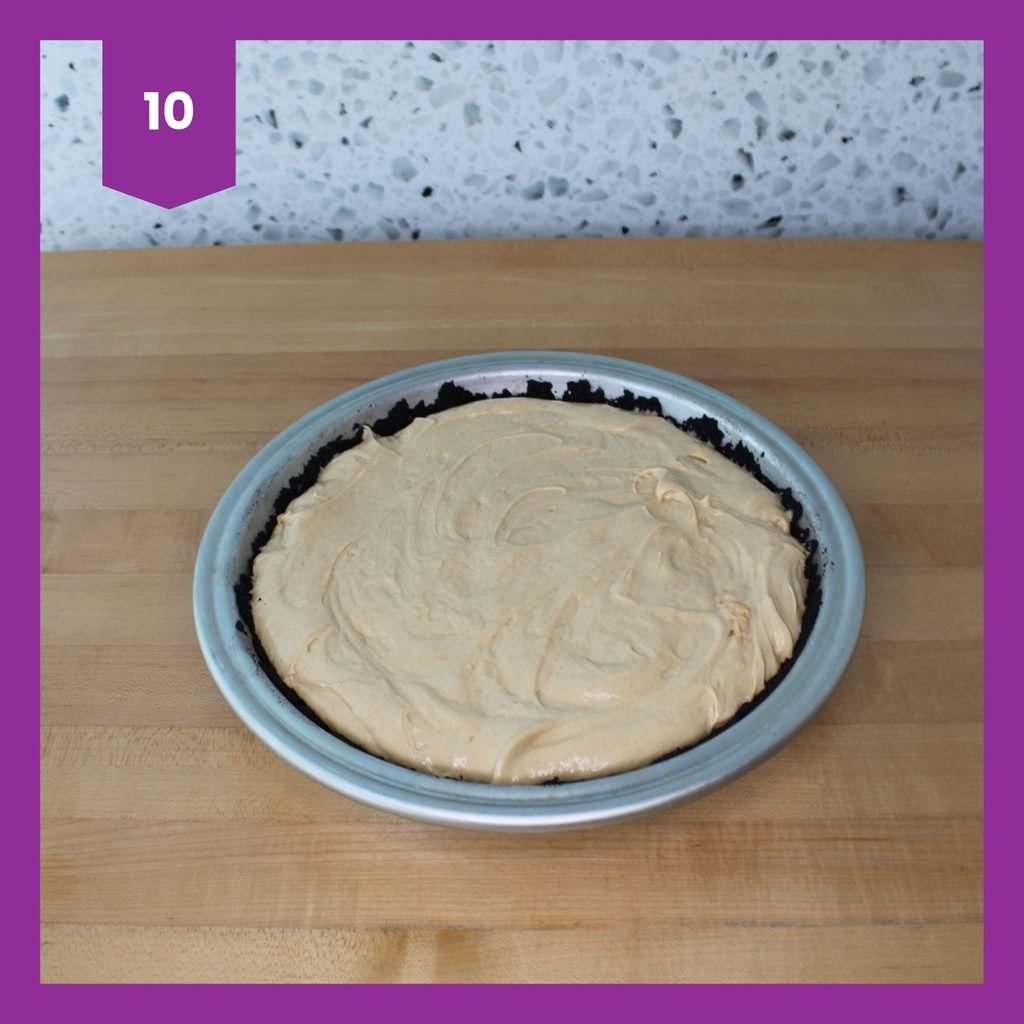
Place pudding mixture into cooled crust. Top with remaining whipped topping and additional cookie crumbs (optional).
Refrigerate at least 2 hours before serving.


Dreamy Peanut Butter Pie
- Prep Time: 15-20 min.
- Cook Time: 10 minutes
- Total Time: 2.5-3 hours
- Yield: 8 pieces
- Category: Dessert
- Method: Baking
Ingredients
Cookie Crust
- 1 1/2 cups black cookie crumbs
- 1/4 cup packed brown sugar
- 6 tbsp melted butter
- Pinch of salt
Peanut Butter Filling
- 3.4 oz package of instant vanilla pudding
- 1 1/2 cups creamy peanut butter
- 2 cups milk
- 16 oz. whipped topping
- Vanilla extra (measured with your heart)
Instructions
- Preheat oven to 350°F. Melt butter.
For the crust:
- In a medium bowl combine the cookie crumbs, brown sugar, a pinch of salt and melted butter.
- Transfer the crumb mixture to a 9-inch pie pan.
- Use the bottom of a measuring cup or glass to firmly press the mixture across the bottom and evenly up the sides of the pan.
- Bake the crust for 10 minutes until set.
- Set aside and cool completely.
For the filling:
- Pour 2 cups of cold milk into a medium mixing bowl.
- Add the instant pudding mix.
- Whisk or beat with a wire whisk or electric mixer for 2 minutes until well blended and slightly thickened.
- Set aside for at least 10 minutes so the mixture can thicken.
- Once the pudding has thickened, add peanut butter and a splash of vanilla, measured with your heart.
- Beat with an electric mixer until well blended.
- Add half of the whipped topping and beat until well combined.
- Place pudding mixture into cooled crust.
- Top with remaining whipped topping and additional cookie crumbs (optional).
- Refrigerate at least 2 hours before serving.
Notes
You can also used a premade graham cracker pie crust or chocolate crust, which I have done on several occasions, for an even quicker/easier pie.
